Chưa có sản phẩm trong giỏ hàng.
Review sản phẩm
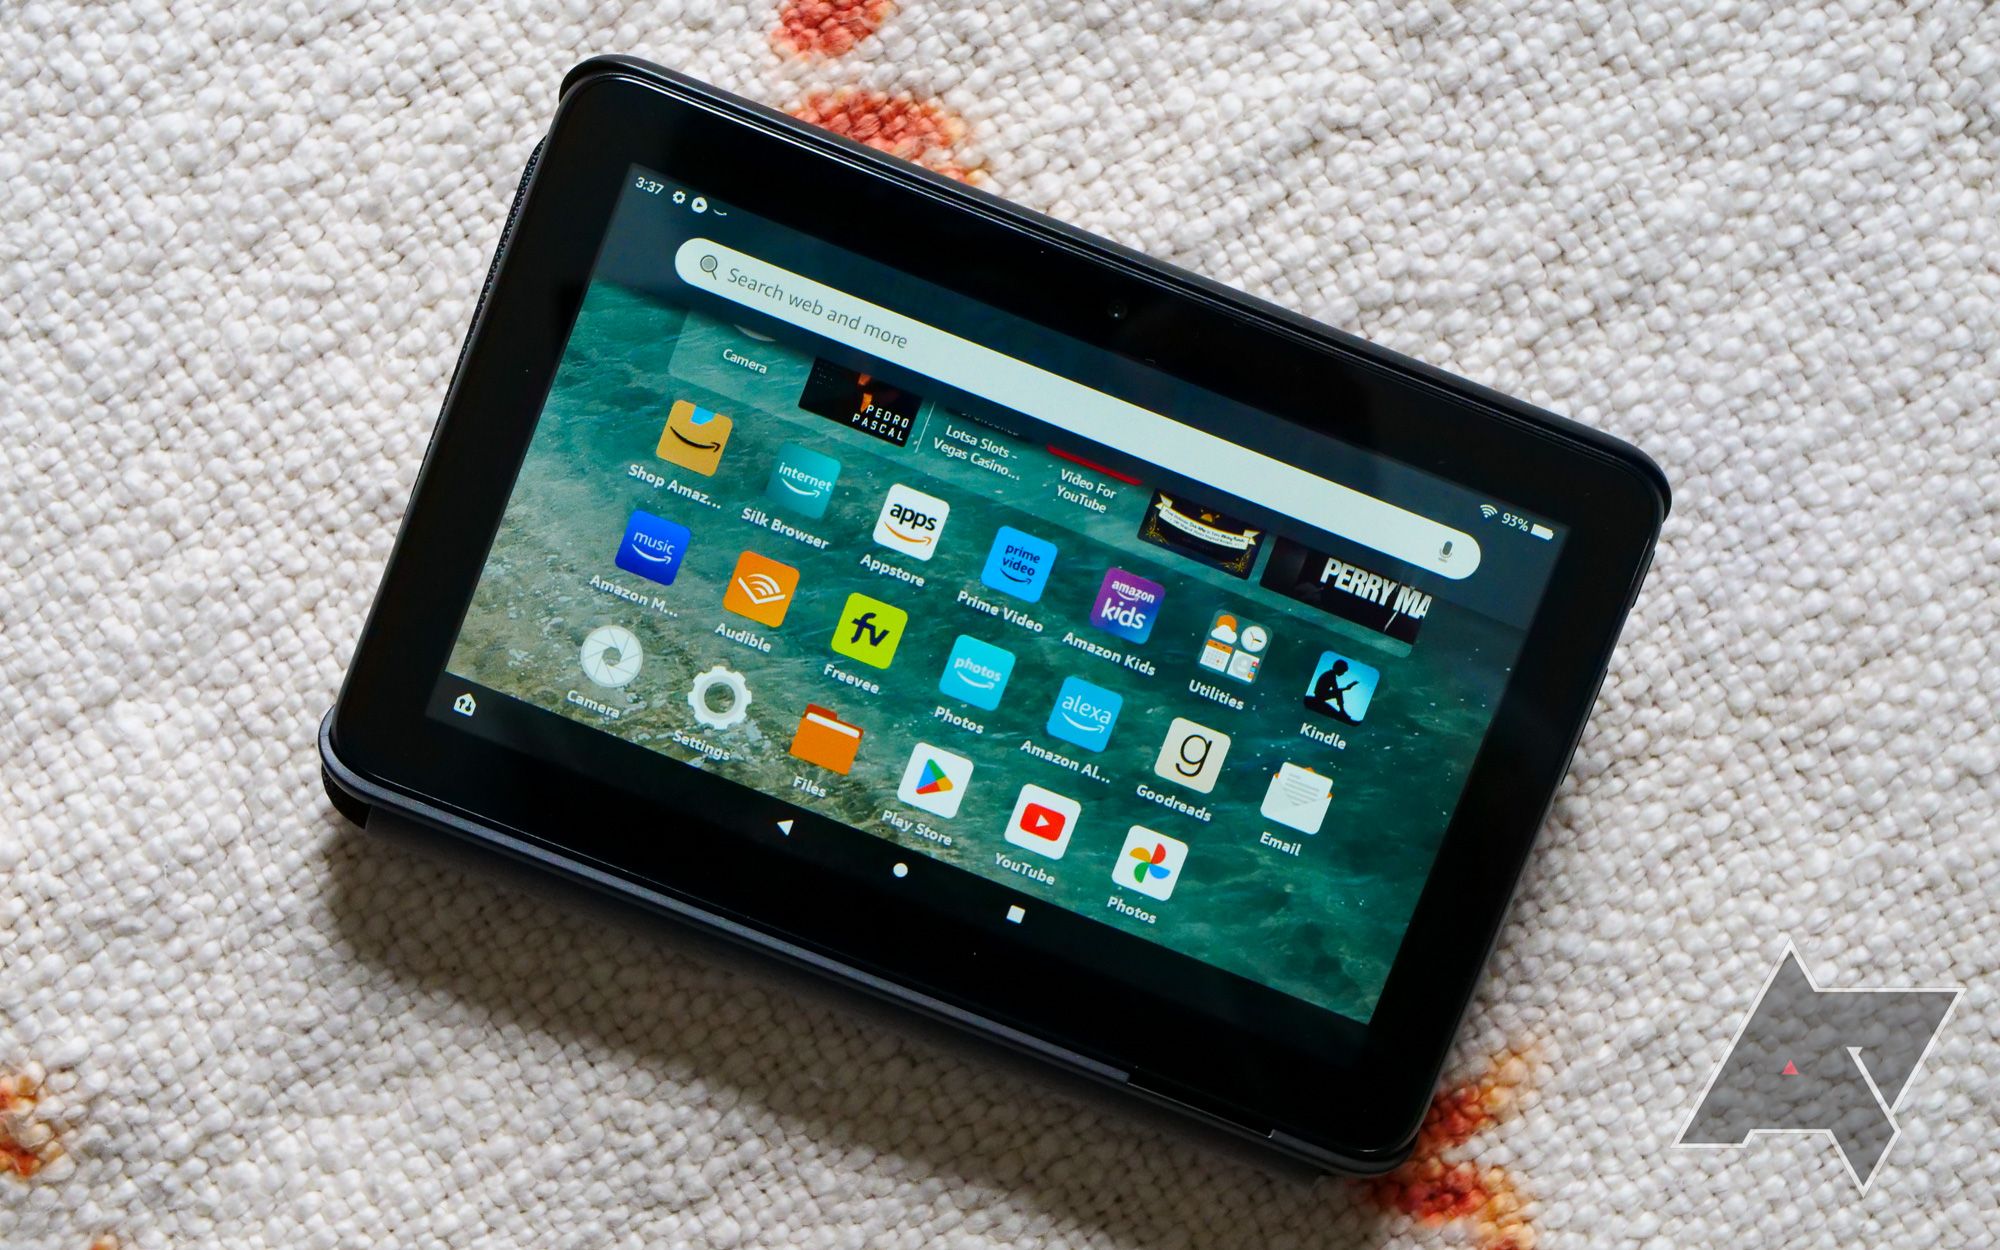
Cách thêm hồ sơ vào máy tính bảng Amazon Fire của bạn
21
Th8
Th8
Giới thiệu How to add a profile to your Amazon Fire tablet
Hướng dẫn cách thêm hồ sơ vào thiết bị Amazon Fire tablet của bạn.
Hướng dẫn thêm hồ sơ vào máy tính bảng Amazon Fire của bạn #QueenMobile
Nếu bạn đang sở hữu một máy tính bảng Amazon Fire, bạn có thể đánh giá các sản phẩm trên Queen Mobile và mua chúng ngay trên máy tính bảng của mình. Đây là cách bạn có thể thêm một hồ sơ vào máy tính bảng của mình để tận hưởng trải nghiệm mua sắm tiện lợi trên Queen Mobile.
Bước 1: Mở trình duyệt trên máy tính bảng Amazon Fire của bạn. Nếu bạn chưa cài đặt trình duyệt, hãy tải xuống và cài đặt phiên bản phù hợp với máy tính bảng của bạn.
Bước 2: Truy cập trang web Queen Mobile bằng cách nhập địa chỉ www.queenmobile.vn vào thanh địa chỉ của trình duyệt.
Bước 3: Tìm kiếm sản phẩm mà bạn muốn đánh giá và mua. Bạn có thể dùng thanh tìm kiếm trên trang web hoặc duyệt qua các danh mục sản phẩm để tìm kiếm chính xác.
Bước 4: Khi bạn đã tìm thấy sản phẩm, hãy nhấp vào nó để xem thông tin chi tiết về sản phẩm và đánh giá của khách hàng khác.
Bước 5: Để mua hàng, bạn cần thêm một hồ sơ vào máy tính bảng Amazon Fire của mình. Để làm điều này, bạn cần tạo một tài khoản trên Queen Mobile. Để tạo tài khoản, hãy nhấp vào biểu tượng “Đăng ký” hoặc “Đăng nhập” trên trang web Queen Mobile.
Bước 6: Khi bạn đã có tài khoản, hãy đăng nhập và truy cập vào trang thông tin cá nhân của mình. Ở đây, bạn cần điền thông tin cá nhân của mình, bao gồm họ tên, địa chỉ, số điện thoại và thông tin thanh toán.
Bước 7: Sau khi đã điền đầy đủ thông tin cá nhân, hãy lưu lại và quay trở lại trang sản phẩm bạn muốn mua. Bạn sẽ thấy một nút “Mua hàng” hoặc “Thêm vào giỏ hàng” trên trang sản phẩm. Hãy nhấp vào nút này để cho sản phẩm vào giỏ hàng.
Bước 8: Để thanh toán và hoàn tất quá trình mua hàng, hãy truy cập vào giỏ hàng của mình. Tại đây, bạn có thể kiểm tra lại các sản phẩm bạn muốn mua và thực hiện thanh toán.
Bước 9: Sau khi đã thanh toán thành công, bạn sẽ nhận được thông báo xác nhận và sản phẩm sẽ được gửi đến địa chỉ mà bạn đã cung cấp trong thông tin cá nhân.
Với hướng dẫn trên, bạn có thể dễ dàng thêm hồ sơ và mua hàng từ Queen Mobile trên máy tính bảng Amazon Fire của mình. Hãy khám phá các sản phẩm phong phú và dịch vụ tuyệt vời mà Queen Mobile mang lại cho bạn!
#QueenMobile #máytínhbảngAmazonFire #đánhgiásảnphẩm #muahàngthuậnlợi #thêmhồsơ #giỏhàng #thanhtoántrực tuyến #trải nghiệmmuasắm
Mua ngay sản phẩm tại Việt Nam:QUEEN MOBILE chuyên cung cấp điện thoại Iphone, máy tính bảng Ipad, đồng hồ Smartwatch và các phụ kiện APPLE và các giải pháp điện tử và nhà thông minh. Queen Mobile rất hân hạnh được phục vụ quý khách….
_____________________________________________________
Mua #Điện_thoại #iphone #ipad #macbook #samsung #xiaomi #poco #oppo #snapdragon giá tốt, hãy ghé [𝑸𝑼𝑬𝑬𝑵 𝑴𝑶𝑩𝑰𝑳𝑬] ✿ 149 Hòa Bình, phường Hiệp Tân, quận Tân Phú, TP HCM
✿ 402B, Hai Bà Trưng, P Tân Định, Q 1, HCM
✿ 287 đường 3/2 P 10, Q 10, HCM
Hotline (miễn phí) 19003190
Thu cũ đổi mới
Rẻ hơn hoàn tiền
Góp 0%
Thời gian làm việc: 9h – 21h.
KẾT LUẬN
Hướng dẫn thêm hồ sơ vào máy tính bảng Amazon Fire:
Bài viết này sẽ hướng dẫn bạn cách thêm hồ sơ vào máy tính bảng Amazon Fire. Việc thêm hồ sơ cho phép bạn thực hiện nhiều tác vụ và quản lý thông tin cá nhân một cách dễ dàng hơn. Đầu tiên, bạn cần truy cập vào cài đặt trên máy tính bảng của mình. Tiếp theo, di chuyển xuống phần “Tài khoản” và chọn “Thêm hồ sơ”. Bạn sẽ được yêu cầu đăng nhập vào tài khoản Amazon của mình hoặc tạo một tài khoản mới nếu chưa có. Sau khi đăng nhập thành công, hãy tiếp tục điền thông tin cá nhân của bạn như tên, địa chỉ và thông tin thanh toán. Khi hoàn tất, hãy xác nhận tất cả thông tin và hồ sơ của bạn sẽ được thêm vào máy tính bảng Amazon Fire của bạn. Việc này giúp bạn dễ dàng mua hàng từ Amazon và tận hưởng các dịch vụ liên quan khác mà Amazon cung cấp.
While it’s not necessary to add a profile to an Amazon Fire tablet, having one certainly has its advantages. It allows you to personalize your experience and share the device with others while maintaining your individual settings, preferences, bookmarks, and other content. It can also be particularly convenient to ensure age-appropriate content when sharing a device with children to facilitate parental control.
No matter what your reasons might be, this guide will walk you through the process of adding a new adult profile to your Amazon Fire tablet. So, let’s get to it!
How many profiles can you have?
Currently, you can only have two adult profiles on a Fire tablet. Each adult must also have their own Amazon account, and adding the profile to your Fire tablet will also add them to your Amazon Household. Among the other profiles, there can be up to four teens (ages 13 through 17) and up to four children.
Teens can have their own Amazon login to shop or stream content with parental approval. The only downside is that you can’t add a teen profile to a Fire tablet. You can, however, add child profiles to Amazon tablets. An invitation isn’t necessary to add children; however, they won’t be able to shop on Amazon.
How to add a profile on an Amazon Fire tablet
Once you register your Fire tablet by signing into your Amazon account, your profile is automatically added to the device. Also, if you already have a second adult in your Amazon Household (set up on Amazon’s website), their profile will automatically be added to the Fire tablet too, so you won’t need to add them.
If you need to manually add a second adult profile to your Fire tablet, here’s how to do so:
1. First, swipe down from the top of the screen of your Fire tablet with two fingers to open the Quick Settings panel.
Alternatively, you can swipe down with one finger to open the Notifications panel and then swipe down again to expand the Quick Settings panel.
2. Tap the person icon at the bottom-right corner of the Quick Settings panel.

3. You’ll see your personal profile listed here. Tap the plus sign to add a new user.

Note: If you already have two adult profiles listed here, the plus sign will still show, but you won’t be able to add a new user in the next steps since the limit is two adult profiles.
4. Confirm that you’d like to create a new profile by tapping “OK.”

5. You’ll be taken to the “Profiles & Family Library” section in Settings, where you’ll see the option to add either a second adult profile or a child profile. Tap “Add a second Adult Profile.”

6. Next, you’ll be asked to confirm your password. If you have a long, strong password, this can be frustrating, but it’s necessary to confirm you want to add a second person to your household. Enter it and tap “Sign In.”

7. Once you’ve signed in, hand your Fire tablet to the person you’d like to add a profile for so that they can sign into their account. This will also add them to your Amazon Household.
8. The second adult will be given the option to either sign into their Amazon account or create a new Amazon account (if they don’t yet have one). For the purpose of this guide, we’ll assume that the second adult already has an Amazon account; select “I have my own Amazon account to use for this profile” and tap “Continue.”

9. The second adult can now sign into their Amazon account and tap “Continue.”

10. There’s some important information about sharing content and payment information that the second adult will need to read and decide on. They can choose to authorize payment sharing and enable sharing of content, Prime Benefits, and management of child profiles if needed, or they can opt to not share payment methods and only agree to share management of child profiles across Amazon devices. After selecting the desired option, they can tap “Continue.”

11. That’s it. The second adult’s profile will now display on your Fire tablet, and you’ll be able to switch between them as needed.

It’s worth pointing out that the process may differ slightly based on the model and OS version of your Amazon Fire Tablet. Therefore, always make sure to follow the on-screen instructions.
Sharing an Amazon Fire tablet is easy
Adding an additional profile to your Amazon Fire tablet device isn’t complicated. With a few steps, you can easily create a profile and give that user their own private digital space. This addition can significantly enhance your experience with your tablet device, helping to separate the activities and preferences of different users using the same device. So go ahead and take these steps to make things easier for your household; it’s worth it.
